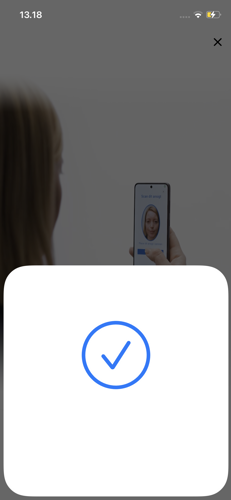
Step 3 - Scan passport code, read chip and scan face
- Watch a short video in the app for instructions.

- Open the passort on the page with your passport photo.
- Find the code with your passport information - it is in the bottom part of the passport and starts with a "P".
- Click the button Scan kode in the MitID app.

- Turn the phone horizontal.
- Place the phone so the code is visible in the bottom frame. There must be about 12 cm space between passport and phone.
- When the arrows matches the passport code, hold the phone with a steady hand for a moment.
- When the code is scanned, the phone vibrates and a tick will appear.

Tip: If you type in your passport information
You might not be able to pick the right dato, as you can't pick a date back in time. You need to pick the month first, then the date.
- Watch a short video in the app for instructions.

- Place your passport on a flat surface.
- Remove the cover from your phone.
- Position the phone half way up on the passport frontpage to get ready for reading the chip. The chip is hidden in the passport frontpage.
- Click Read the chip in the MitID app and start the scan.
- Hold the phone with a steady hand for a moment for the phone to read the chip.
- Small circles will appear and the text "Scanning chip" tells you that the scan is in process.
- When the code i scanned, the phone vibrates and a tick will appear.


Tip: If you can't see any circles or the text "Scanning chip" the scan is not in proces
Try to gently move the phone around and the phone will try to catch the chip again.
- Watch a short video in the app for instructions.
- Place the phone in front of your face and position your face in the blue frame (to make sure that it is you that is using your passport for this ID validation).
- Click I am ready when your face is in the circle. You will get instructions as you start the scan. You might have to try more than once to succeed with the scan.


- When your face is scanned, the text "Verifying" will appear and the step overview opens.
Tip: If you can't click the button "I am ready"
Try to move away and then closer to the blue frame, until the button "I am ready" becomes blue. Instructions on the screen will guide you.
Tip: If you can't scan your face, try this:
- Find a place with better lightning for you face.
- Remove glasses or other items from your face.